Index> Lightning Network
Now, all CLIENT mode settings are done.
Let’s go to the next step - open a channel.

Open channel from Testnet Faucet (Lightning Shield)
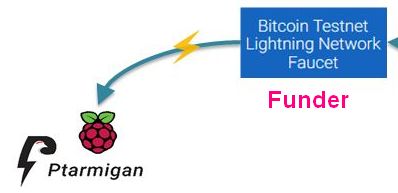
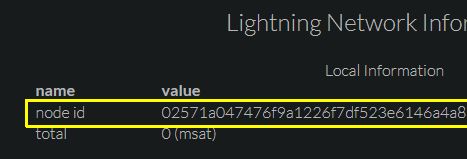
1. Check my node_id
Menu: Lightning Network > Information
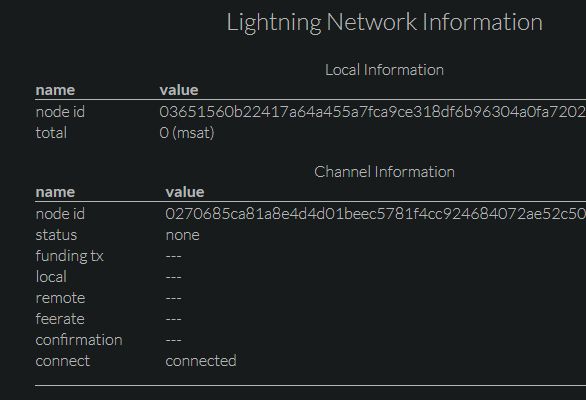
2. Connect to other node that you want to open channel with
Connect Raspberry Pi to peer node and open a channel from the peer, because Raspberry Pi might not have the Global IP address.
- Decide the peer node
You need decide the peer node. Your options are;- your node
- faucet service
- Please use Bitcoin Testnet Lightning Network Faucet.
-
Connect to the peer node
Currently(Oct.28,2020), Faucet node_id is0270685ca81a8e4d4d01beec5781f4cc924684072ae52c507f8ebe9daf0caaab7b@159.203.125.125:9735(please check the faucet site).
Menu: Lightning Network > Connect Node

- Check the connection status: connected
Menu: Lightning Network > Information
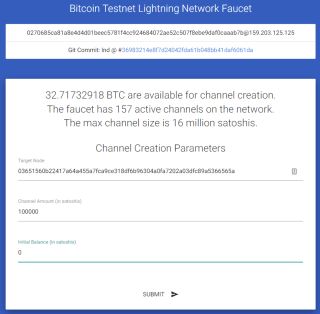
3. Open channel from the peer node
Target Node: Your Lightning Shield’s node id(“Menu: Lightning Network > Information » Local Information:node id”)
4. Check the connection status: establishing
Menu: Lightning Network > Information
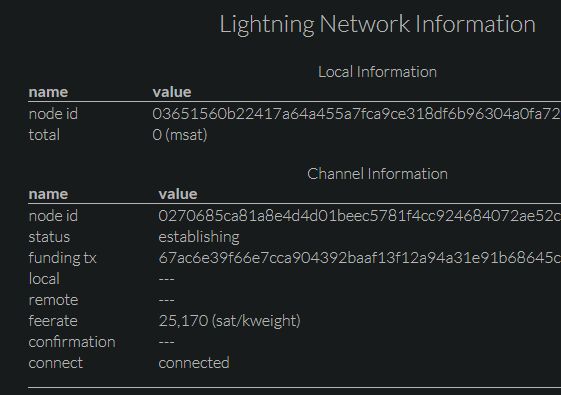
5. Wait for some confirmations
You can open a channel from phone while waiting for.
6. Check the connection status: normal operation
Menu: Lightning Network > Information
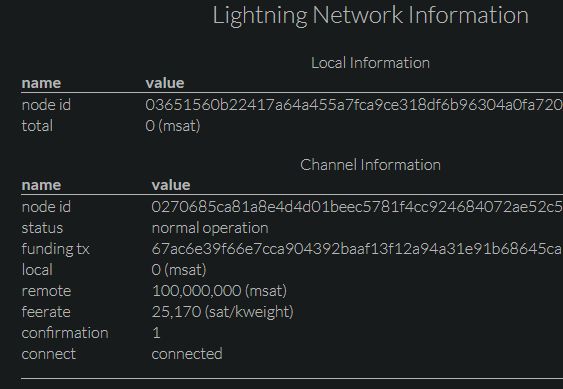
7. Channel is opened
Finally, you can receive Bitcoin with Lightning Network.
Receiving from hopped node, you will need more than 6 confirmations.
Open channel to Testnet Faucet (phone)
1. Setup Lightning Testnet wallet
- Install a Mobile Testnet to your phone.
- Receive the Testnet amount.
2. Open channel to the Testnet Faucet
Bitcoin Testnet Lightning Network Faucet

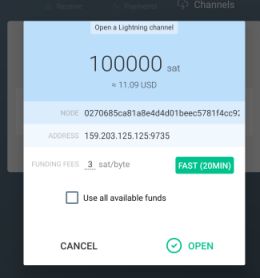
Finally, you can send Bitcoin with Lightning Network!