Index> Raspberry Pi
SD card
RaspbianOS + Lightning Shield for Arduino modules
1. Download a SD image file
2. unzip
unzip downloaded file.
3. Write the image to the SD card
Please refere to how to write a SD card image
4. Turn the power on
Before turning on the power, insert the SD card into the Raspberry Pi combined with the Lightning Shield.
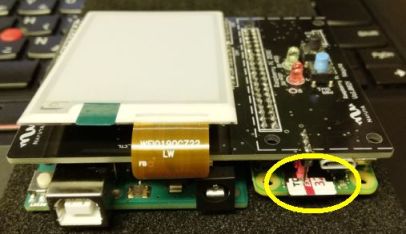
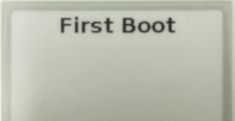
After that, supply power through USB/AC adapter/micro-B USB and turn on the power! Do not worry about the first boot, it takes about a few minutes to show the first display.
Be careful!!
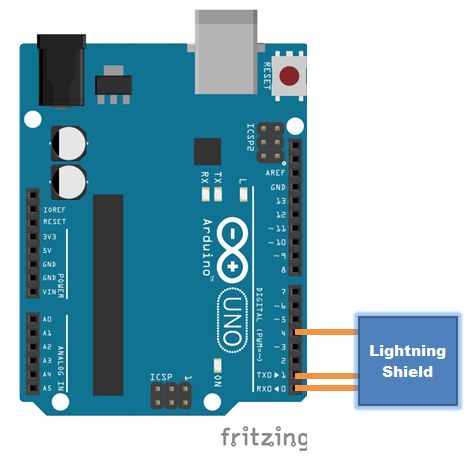
If you are using an Arduino, make sure that the programs written on the Arduino do not damage the Lightning Shield(pin 0, 1, 4).
Please check your program before power on.
The first boot video can help you!
WiFi setting and CLIENT mode
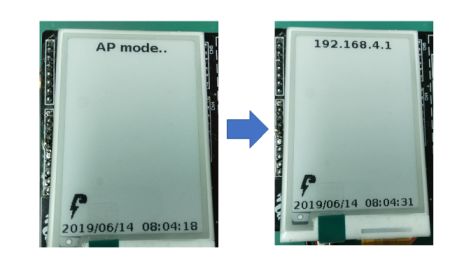
1. First, AP mode starts
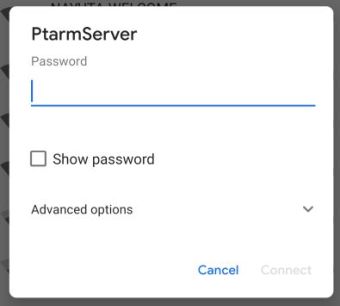
2. Connect your phone/PC to Raspberry Pi via Wi-Fi
- SSID:
PtarmServer - Password:
Ptarmigan
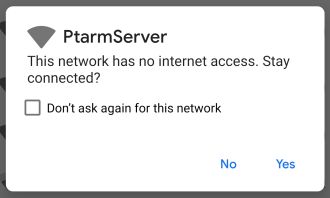
- If you see the following dialog, just tap “Yes”.
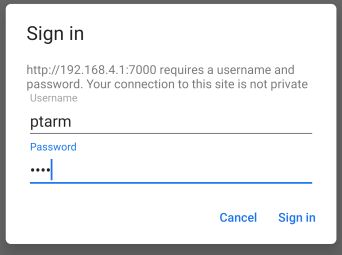
3. Open Browser
- http://192.168.4.1/
- Authentication
- Username:
ptarm/ Password:ptarm
- Username:
- The WiFi Setting video can help you!
4. Menu: Device > WiFi Settings
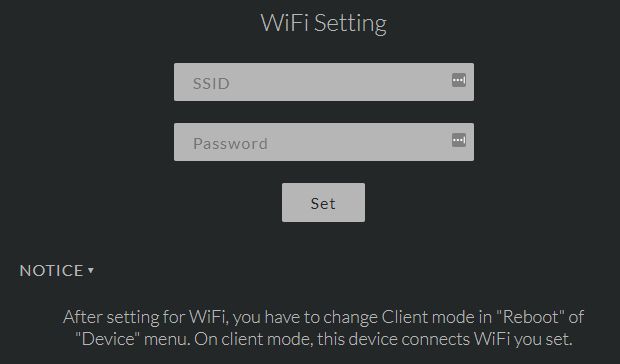
5. Set WiFi SSID/PASS that you want to connect to (your home, office, …)
- In the same way to connect your phone to WiFi
6. Menu: Device > Reboot > Change Client Mode
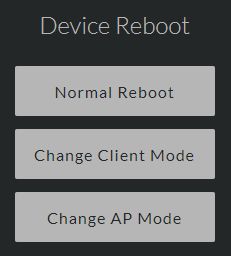
7. Raspberry Pi reboots with CLIENT mode

8. CLIENT mode starts
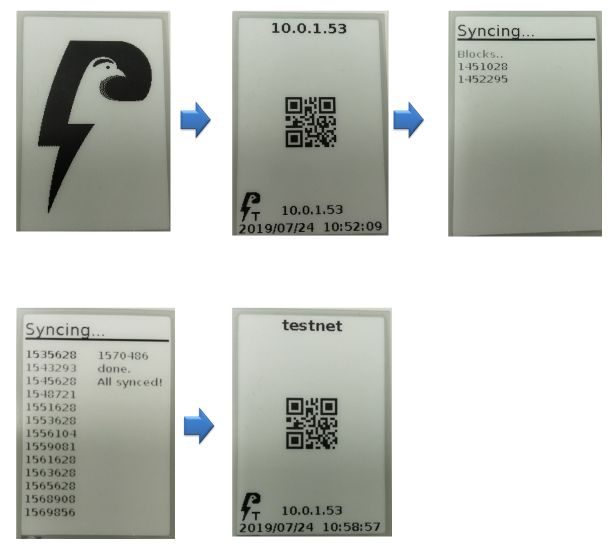
9. Done!
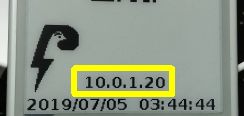
You can open the URL displayed IP address.
- http://IP_ADDRESS/
- http://lnshield.local/ : if avahi/bonjour/zeroconf can use.
Partial Update
If you install v0.1.1 or newer, you can use “Partial Update” method.
This is experimental.
- Download
RPI_SWUPDATE. - copy
RPI_SWUPDATEto SDcardbootpartition.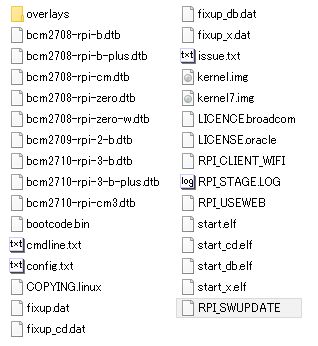
- insert SDcard to Raspberry Pi.
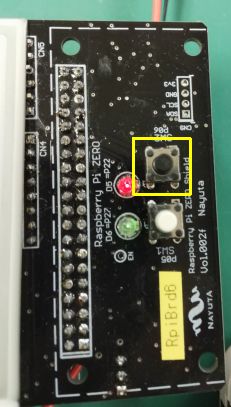
- power on Raspberry Pi and wait Lightning Shield LED turn on.
- Press both Lightning Shield buttons in 3 seconds.
- Release buttons if displaying “SW Update!”.
- After update, Lightning Shield start automatically.
NOTE
Syncing...means downloading the blocks.- It takes a lot of time and sometimes restarts.
- If ePaper displays “no IP addr”, Raspberry Pi does not get IP address from DHCP server.
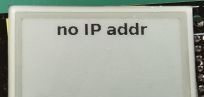
- It might be caused by the fail Wi-Fi setting.
- If you want to change the mode from CLIENT to AP, press Shield’s switch for more than 5 sec..